
Life's a garden. Dig it.
1. Install / Update nvm
nvm is a version manager for Node.js. It let's you install and manage a different version of node.js for each one of your projects.
How do I know if nvm is already installed on my machine?
Run the following command in your Terminal.
$ nvm --versionIf it doesn't return a version number, it's (probably) not installed.
How do I know which version of nvm is installed on my machine?
Again, run the following command in your Terminal.
$ nvm --versionWhat's the current version of nvm?
Go to the installation section of the nvm project README. In the installation code snippet, the version number is specified.
As of 2024-07-28, the current version is 0.39.7
curl -o- https://raw.githubusercontent.com/nvm-sh/nvm/v0.39.7/install.sh | bashHow do I install / update nvm?
Follow the nvm installation instructions here ->
2. Create the project directory
Most of my projects are centered around a business, so I usually set up a directory structure like this 👇
ABC Corp
├── abc-corp-app   <-- Next.js project root
│   ├── README.md
│   └── ...
├── artwork
│   └── ...
├── legal
│   └── ...
└── notes.txt
3. Open the project in Visual Studio Code.
After I create the project folder, I open it using VS Code. Continuing with the example above, I usually do something like
$ code path/to/ABC\ Corp/abc-corp-appcode is a VS Code command that opens the specified folder in VS Code.
Alternatively, you can open the project manually.
- Launch VS Code
File > Open Folder > abc-corp-app
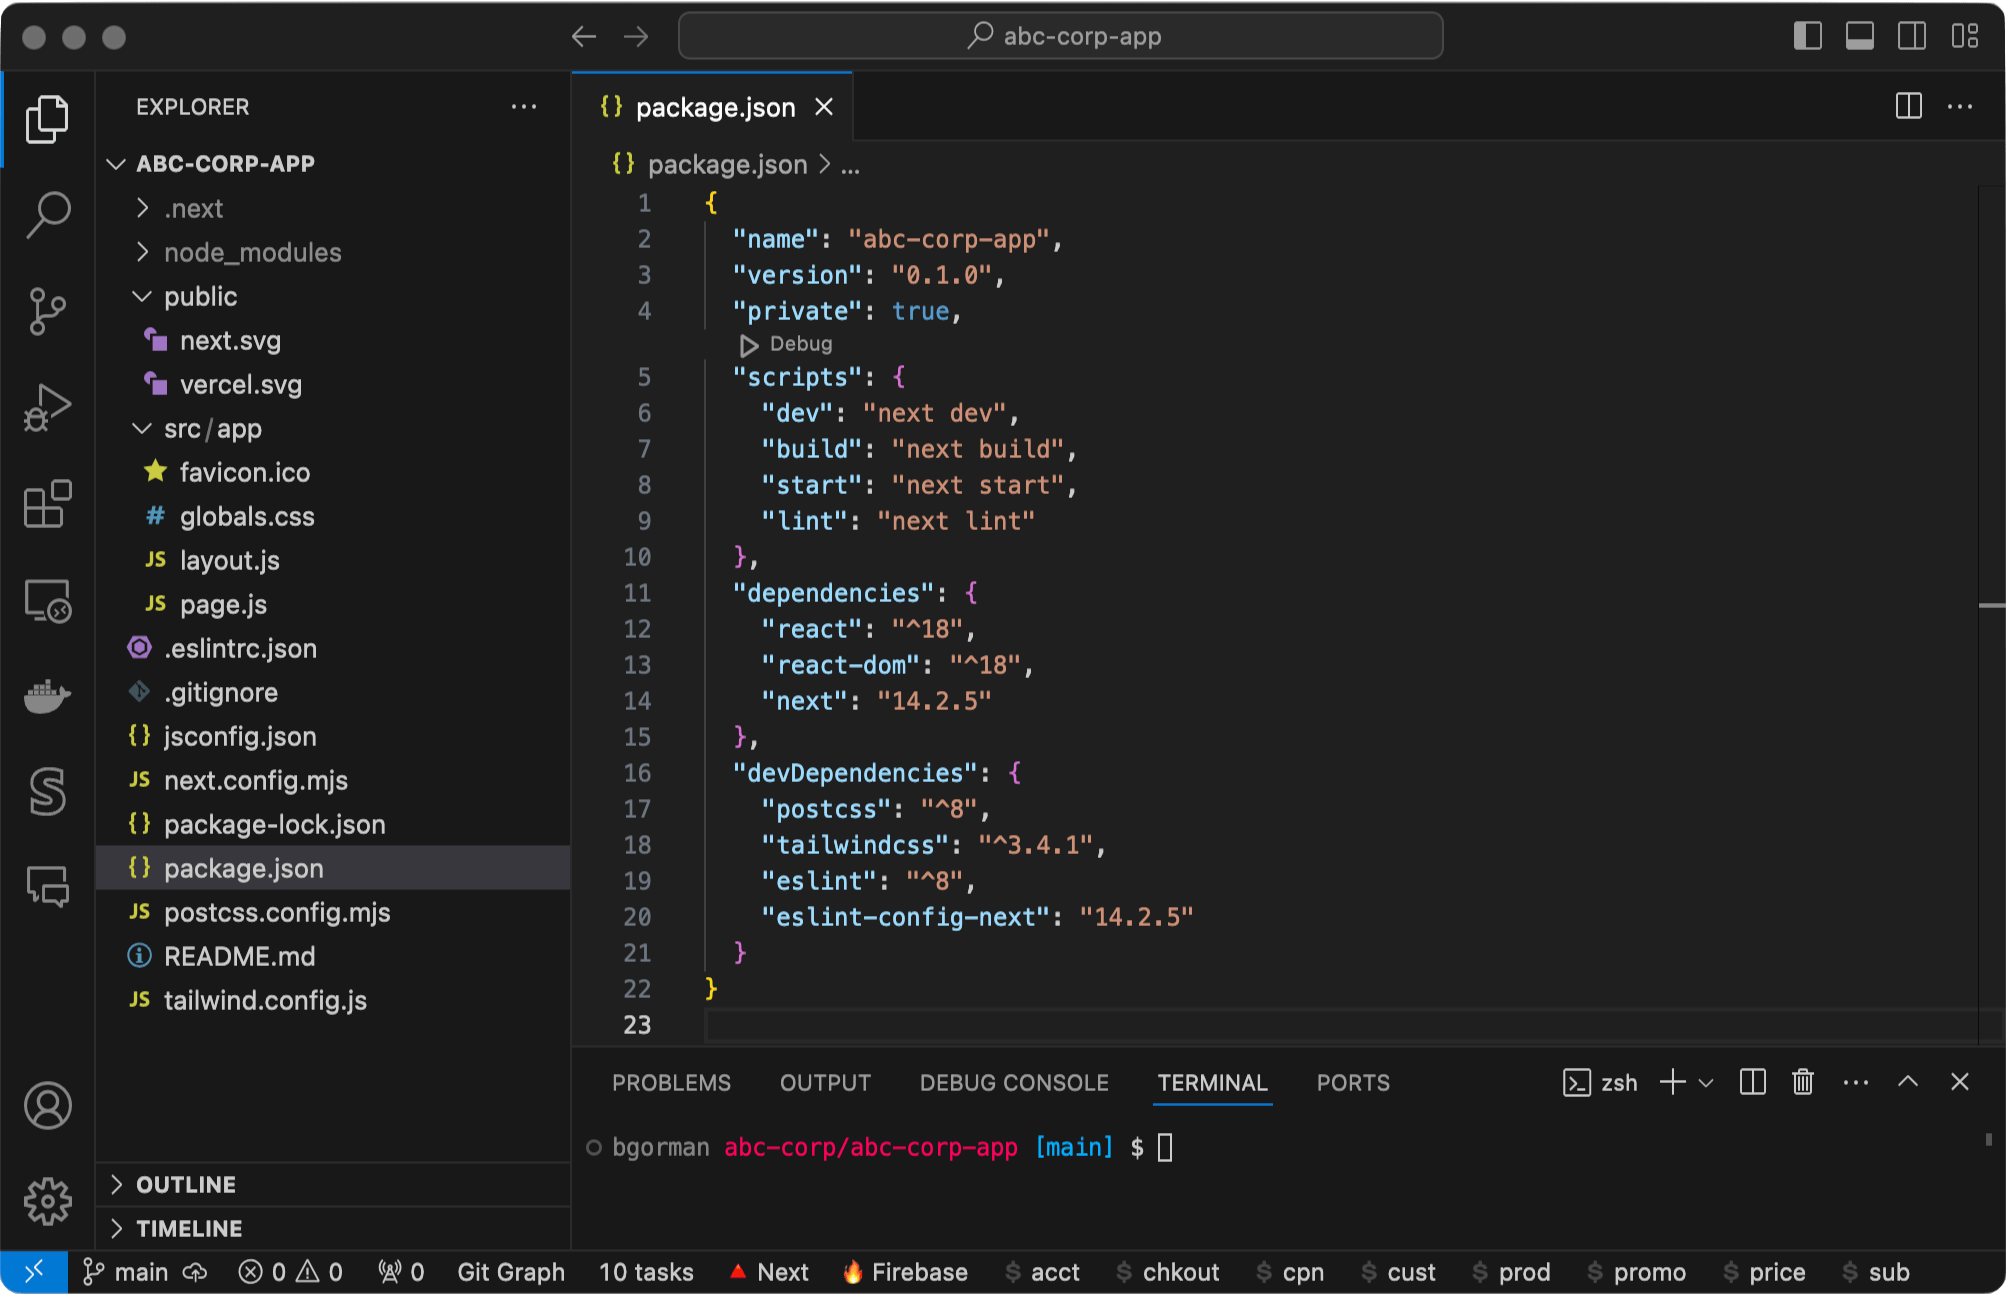
At this point, my VS Code project window looks like this 👇

4. Install / Update node.js and npm
First, I usually check my current versions.
$ node --version  # v22.5.1

$ npm -- version # 10.8.2Then I use nvm to update to the latest versions.
Install / Update node.js
$ nvm install nodeInstall / Update npm
$ nvm install-latest-npm5. Create the Next.js app using create-next-app
I like using create-next-app to fill my empty project with some starter content.
$ npx create-next-app@latestNote
create-next-app needs to be invoked from the parent director. In other words, you should cd path/to/ABC\ Corp/ before running create-next-app.
ABC Corp           <-- run create-next-app from here
├── abc-corp-app
│   ├── README.md
│   └── ...
├── artwork
│   └── ...
├── legal
│   └── ...
└── notes.txt
This command prompts you to answer some questions. Here are my preferred answers..
What is your project named?  abc-corp-app
Would you like to use TypeScript?  No
Would you like to use ESLint?  Yes
Would you like to use Tailwind CSS?  Yes
Would you like to use `src/` directory?  Yes
Would you like to use App Router? (recommended)  Yes
Would you like to customize the default import alias (@/*)?  No
npx is included with npm, so you shouldn't need to install it.create-next-app adds a lot of stuff to the empty project. Let's take a look...
Launch the app locally
If everything went smoothly, you should be able to launch the app on your local machine. From the Terminal, run
$ npm run devThen go to the Local url displayed in the console.
ctrl/cmd + click'ing it.
Set up a task button to run the app locally
You may have noticed this "Next" button in the footer of my VS Code window.
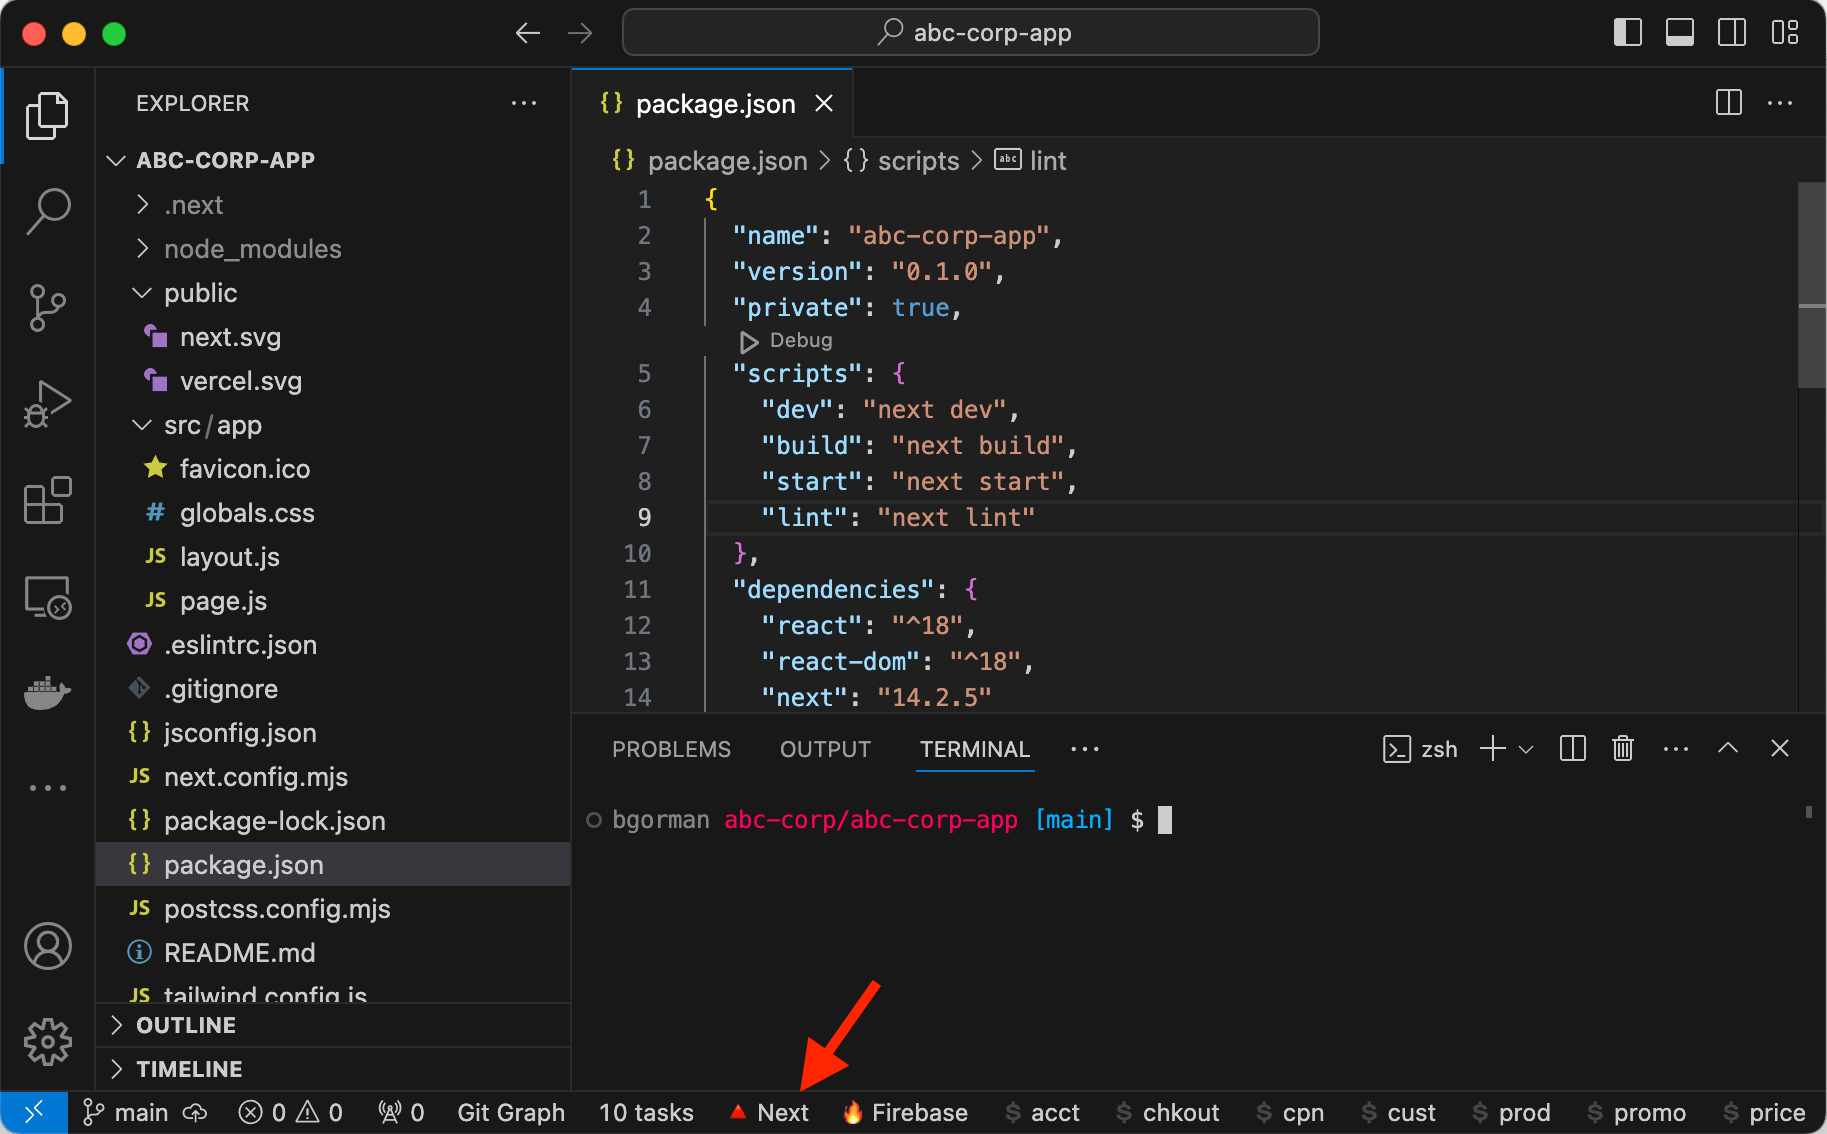
This is a task button that I've set up to run the development server. Instead of having to remember and run npm run dev, I can just click the task button. This isn't something you need, but it's super handy and I highly recommend setting this up.
-
Install the Task Buttons VS Code Plugin
-
Create the file
.vscode/tasks.json -
Save the following contents to
.vscode/tasks.json.vscode/tasks.json { "version": "2.0.0", "tasks": [ { "label": "Next.js: run", "type": "npm", "script": "dev", "presentation": { "panel": "dedicated" } } ] } -
Create the file
.vscode/settings.json -
Save the following contents to
.vscode/settings.json.vscode/settings.json { "VsCodeTaskButtons.showCounter": false, "VsCodeTaskButtons.tasks": [ { "label": "🔺 Next", "task": "Next.js: run" } ] }
At this point, the task button should automatically appear in the VS Code footer.
About settings.json
VS Code maintains multiple settings.json files.
/Users/spongebob/ABC Corp/abc-corp-app/.vscode/settings.jsonis your workspace settings file./Users/spongebob/Library/Application Support/Code/User/settings.jsonis your user settings file.
- Your workspace settings take priorty over your user settings.
- Your user settings apply to all projects.
- Your workspace settings only apply to one project.
Set up version control with Git and GitHub
The create-next-app command we ran earlier automatically initialized a git repository for our app. It even made a commit. Run git log to see for yourself.
$ git log

> commit 118267cba3d9fc71bd440147b1b1ebb45f5a2084 (HEAD -> main)
> Author: spongebob <[email protected]>
> Date:   Sun Jul 28 11:54:28 2024 -0500
>
> Initial commit from Create Next AppThe create-next-app command also created a .gitignore file that you can use to ignore files from being tracked. I usually make a few tweaks to the default .gitignore file, resulting in a file like this 👇
# See https://help.github.com/articles/ignoring-files/ for more about ignoring files.

# dependencies
**/node_modules
/.pnp
.pnp.js

# testing
/coverage

# next.js
/.next/
/out/

# production
/build

# misc
.DS_Store
*.pem
.vscode/

# debug
*.log
npm-debug.log*
yarn-debug.log*
yarn-error.log*

# env files
.env*
functions/.env.*

# vercel
.vercel

# typescript
*.tsbuildinfo
At this point, I typically set up a private remote repository on GitHub, and then sync my local repo with the remote. Here's a quick video of what this process looks like:
If this is new to you, you should put this guide away and focus on learning Git + GitHub. (Lucky for you, I have a course on Git and GitHub!)
7. Set up environment variables
Create the following .env files inside the project root. You can leave the files empty for now.
ABC Corp/
  abc-corp-app/
  .env.local
  .env.development
  .env.production
# Development settings and API keys go here
# This file should not be tracked by git# Production settings and API keys go here
# This file should not be tracked by gitThis section of the Next.js docs gives a great explanation of how the different .env files interact. I'll restate it here, verbatim.
Environment variables are looked up in the following places, in order, stopping once the variable is found.
process.env.env.$(NODE_ENV).local.env.local(Not checked whenNODE_ENVistest.).env.$(NODE_ENV).env
For example, if NODE_ENV is development and you define a variable in both .env.development.local and .env, the value in .env.development.local will be used.
Good to know:
The allowed values for NODE_ENV are production, development and test.
8. Deploy to Vercel
At this point, I like to deploy my project to Vercel to make sure everything's in working order before I start integrating Firebase.
I won't go into detail here, since Vercel has extensive docs on this topic. But here's a video showcasing the process.
9. Set up debugging
To debug a server-side function with VS Code,
-
Create a file
.vscode/launch.jsonwith the following contents..vscode/launch.json { "version": "0.2.0", "configurations": [ { "name": "Next.js: debug server", "type": "node-terminal", "request": "launch", "command": "npm run dev" }, ] } -
Choose Next.js: debug server from the Run and Debug window in VS Code.
-
Click Start Debugging
-
Set a breakpoint somewhere in the function you want to debug.
-
Invoke the function.